

Instructions for Institutions (Schools, Kindergartens).
01
Registration

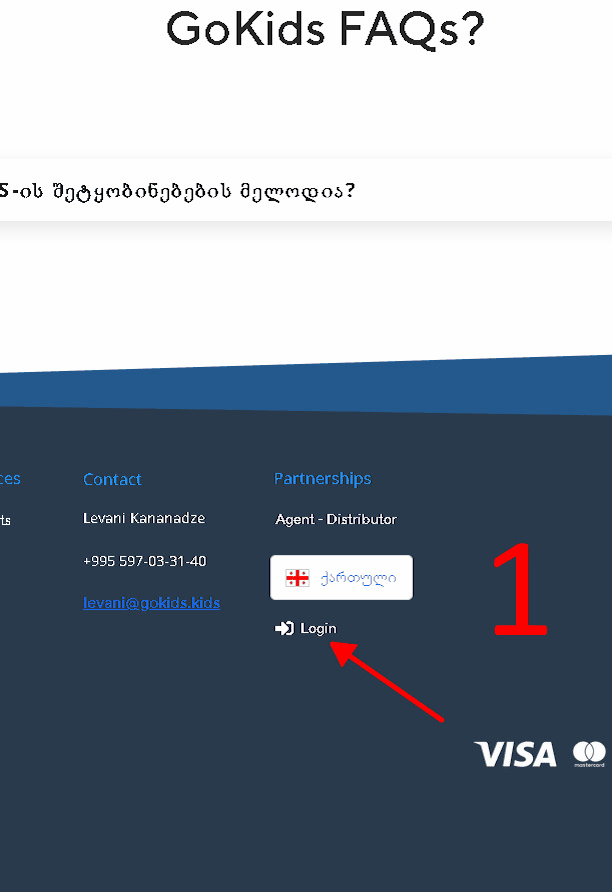
1. Click the “Login” button at the bottom of the page and select “Register”.
2. Fill out the registration form.
3. Verify your email address.
4. Enter a Referral Code (if you have one).
5. Log in to your Dashboard to start setting up.
02
Creating Groups and Child Profiles

1. Create a Group: Start by adding your first group (e.g., "Group A").
2. Create Child Profiles: Go to the "Cards" section and add a new entry for each child.
3. Enter Details: Fill in the required fields. Please be extra careful when entering the Parent’s phone number, as this links their account. Then, assign the child to the group you created in step 1.
Repeat: Complete this for every child in the group.
That’s it! Parents can now download the app, verify their phone number, and start using GoKids.
03
App creation and connection – notifications on the Institution side. GoKids:Monitor.

1. Go to the "Devices" section in your Dashboard.
2. Add a Monitor: Click the button to register a new monitoring device.
3. Name your Device: You can name it by room number, group name, or the teacher’s name (e.g., "Room 102" or "Ms. Smith's Phone").
4. Select Groups: Choose which group(s) will send alerts and "calls" to this specific device.
Important: The GoKids:Monitor app can be installed on both tablets and smartphones, providing total flexibility for your staff.
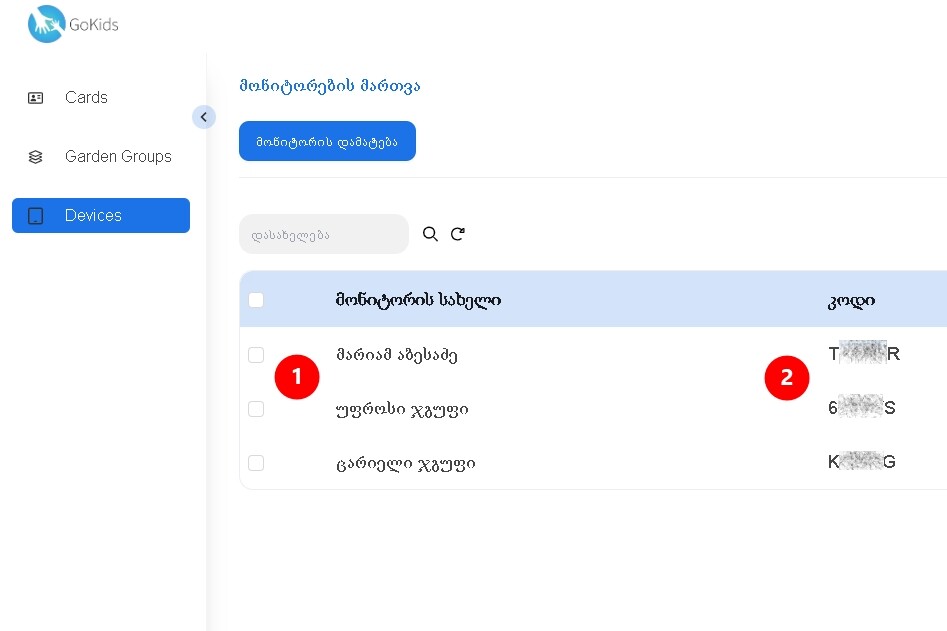
1. Device List: Once created, your new Monitor will appear in the list.
2. Activation Code: In the "Code" column, you will see a one-time pairing code. Use this number to link the GoKids:Monitor app to your institution's account.

1. Install the GoKids app on your smartphone or tablet.
2. Enter the 6-digit pairing code generated for the Monitor you created.
That’s it! You are now ready to receive "Call" alerts from parents.
Flexibility: You can update or add groups to your device at any time, whenever you need.
Getting Started with GoKids

Join us
Devices
Download the App


